Key Management Service (KMS)
Introduction
Section titled “Introduction”Key Management Service (KMS) is a managed service that allows users to handle encryption keys within the Amazon Web Services ecosystem. KMS allows users to create, control, and utilize keys to encrypt and decrypt data, as well as to sign and verify messages. KMS allows you to create, delete, list, and update aliases, friendly names for your KMS keys, and tag them for identification and automation. You can check the official AWS documentation to understand the basic terms and concepts used in the KMS.
LocalStack allows you to use the KMS APIs in your local environment to create, edit, and view symmetric and asymmetric KMS keys, including HMAC keys. The supported APIs are available on our API Coverage section, which provides information on the extent of KMS’s integration with LocalStack.
Getting started
Section titled “Getting started”This guide is designed for users new to KMS and assumes basic knowledge of the AWS CLI and our awslocal wrapper script.
Start your LocalStack container using your preferred method. We will demonstrate how to create a simple symmetric encryption key and use it to encrypt/decrypt data.
Create a key
Section titled “Create a key”To generate a new key within the KMS, you can use the CreateKey API.
Execute the following command to create a new key:
awslocal kms create-keyBy default, this command generates a symmetric encryption key, eliminating the need for any additional arguments.
You can take a look at the KeyId of the freshly generated key in the output, and save it for future use.
In case the key ID is misplaced, it is possible to retrieve a comprehensive list of IDs and Amazon Resource Names (ARNs) for all available keys through the following command:
awslocal kms list-keysAdditionally, if needed, you can obtain extensive details about a specific key by providing its key ID or ARN using the subsequent command:
awslocal kms describe-key --key-id <KEY_ID>Encrypt the data
Section titled “Encrypt the data”You can now leverage the generated key for encryption purposes.
For instance, let’s consider encrypting “some important stuff”.
To do so, you can use the Encrypt API.
Execute the following command to encrypt the data:
awslocal kms encrypt \ --key-id 010a4301-4205-4df8-ae52-4c2895d47326 \ --plaintext "some important stuff" \ --output text \ --query CiphertextBlob \ | base64 --decode > my_encrypted_dataYou will notice that a new file named my_encrypted_data has been created in your current directory.
This file contains the encrypted data, which can be decrypted using the same key.
Decrypt the data
Section titled “Decrypt the data”To decrypt the data, you can use the Decrypt API.
You don’t need to specify the KEY_ID while decrypting the file, since AWS includes the Key ID into the encrypted data.
However, with asymmetric keys the KEY_ID has to be specified.
Execute the following command to decrypt the data:
awslocal kms decrypt \ --ciphertext-blob fileb://my_encrypted_data \ --output text \ --query Plaintext \ | base64 --decodeSimilar to the previous Encrypt operation, to retrieve the actual data, it’s necessary to decode the Base64-encoded output.
To achieve this, employ the output and query parameters along with the base64 tool as before.
Upon successful execution, the output will correspond to our original text:
some important stuffResource Browser
Section titled “Resource Browser”The LocalStack Web Application provides a Resource Browser for managing KMS keys. You can access the Resource Browser by opening the LocalStack Web Application in your browser, navigating to the Resources section, and then clicking on KMS under the Security Identity Compliance section.
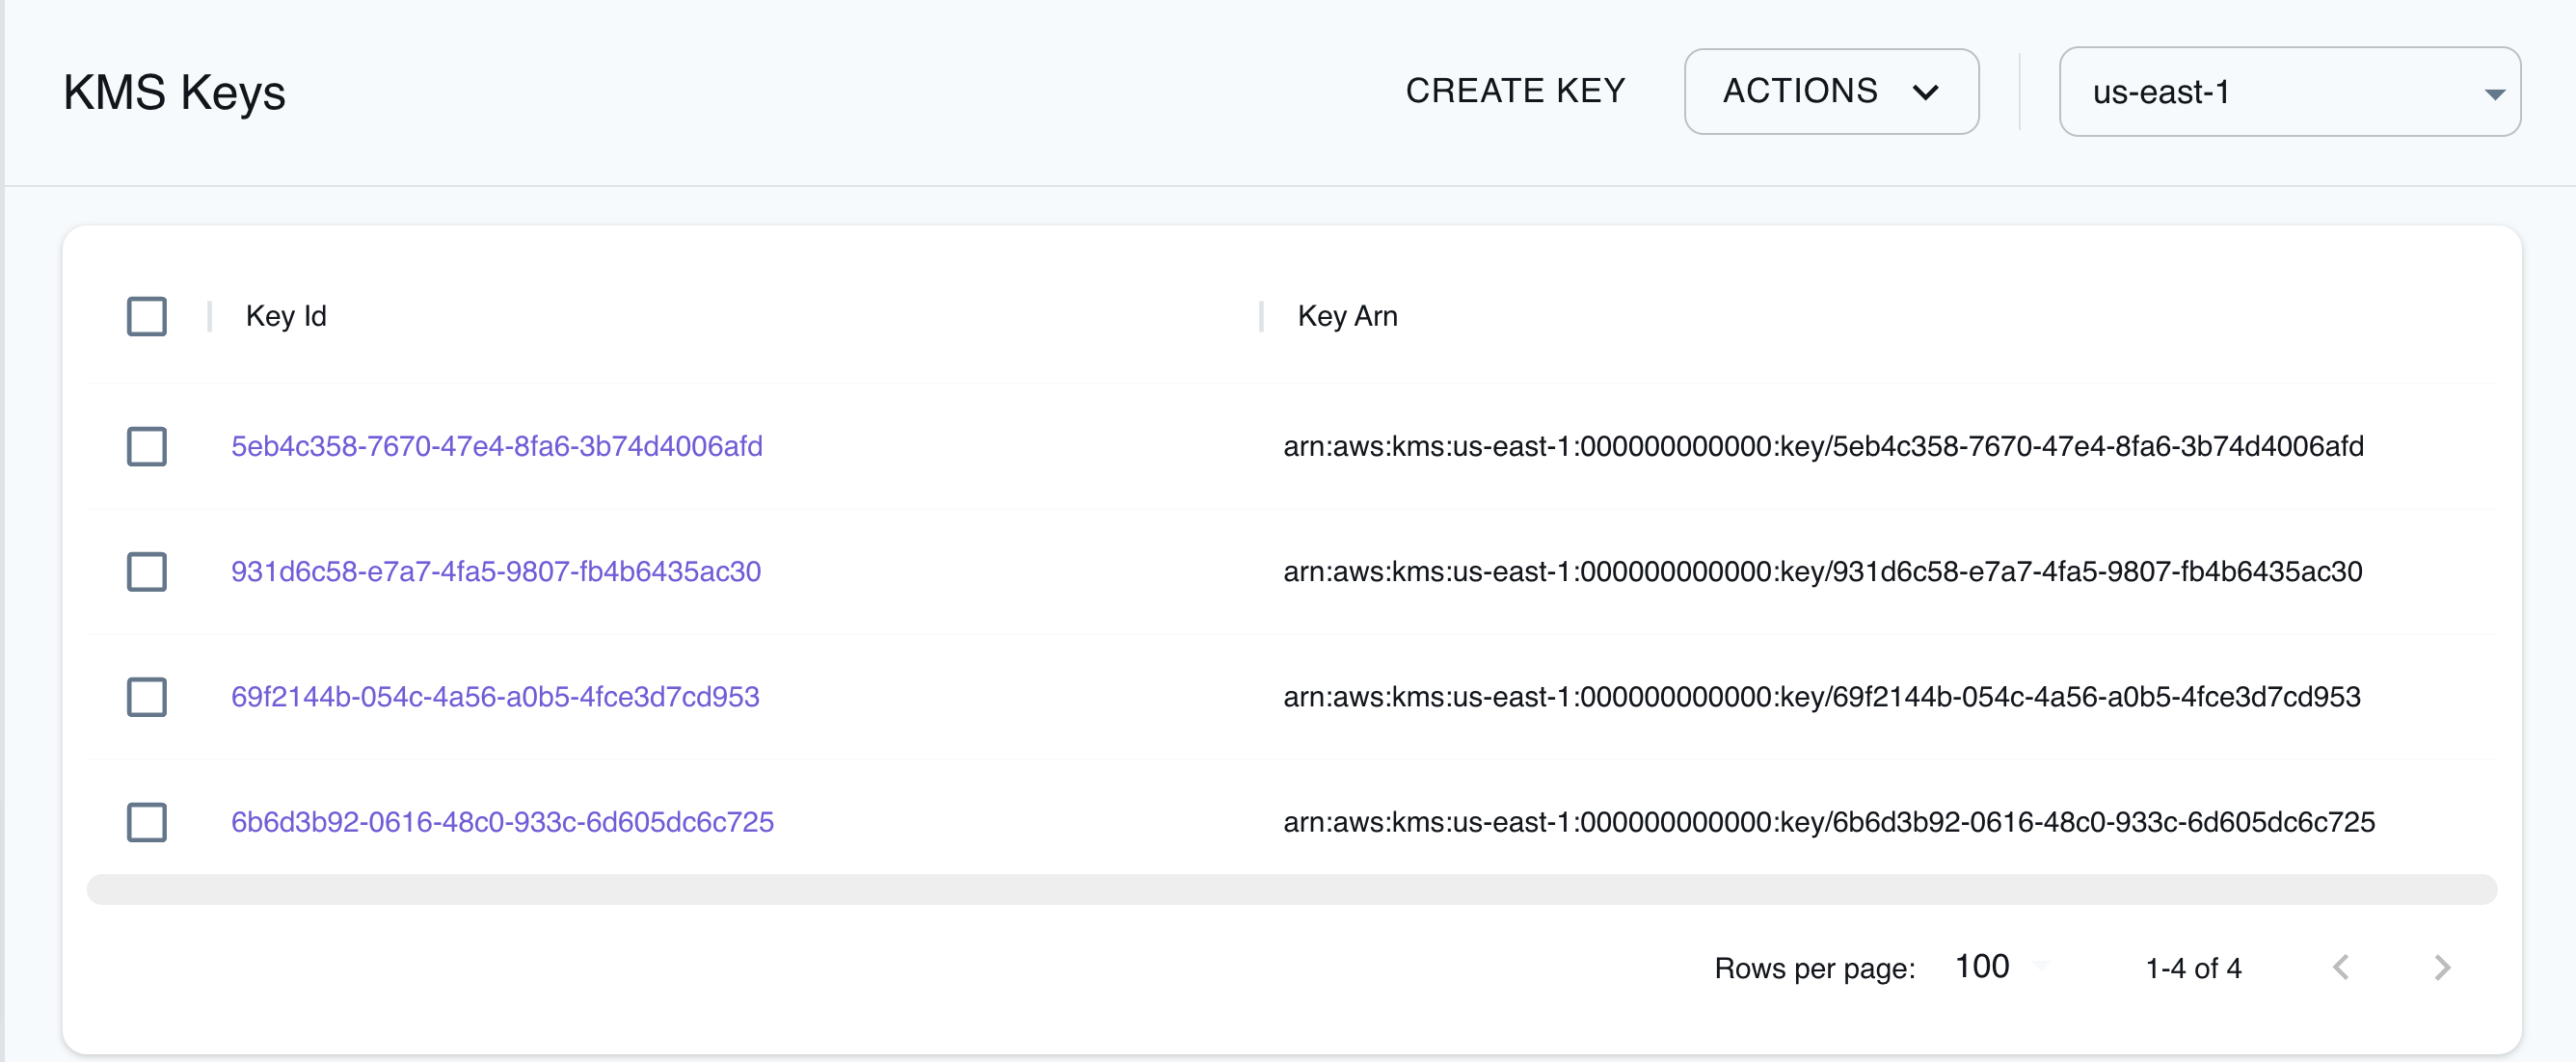
The Resource Browser allows you to perform the following actions:
- Create Key: Create a new KMS key by specifying the Policy, Key Usage, Tags, Multi Region, Customer Master Key Spec, and more.
- Edit Key: Edit an existing KMS key by specifying the Description, after clicking the key in the list and clicking EDIT KEY.
- View Key: View the details of an existing KMS key by clicking the key in the list.
- Enable & Disable Key: Select any listed keys to enable or disable them by clicking the Actions button and select Enable Selected or Disable Selected.
- Delete Key: Select any listed keys to delete them by clicking the Actions button and selecting Schedule Deletion.
Custom IDs for KMS keys via tags
Section titled “Custom IDs for KMS keys via tags”You can assign custom IDs to KMS keys using the _custom_id_ tag during key creation.
This can be useful to pre-seed a test environment and use a static KeyId for your keys.
Below is a simple example to create a key with a custom KeyId (note that the KeyId should have the format of a UUID):
awslocal kms create-key --tags '[{"TagKey":"_custom_id_","TagValue":"00000000-0000-0000-0000-000000000001"}]'The following output will be displayed:
{ "KeyMetadata": { "AWSAccountId": "000000000000", "KeyId": "00000000-0000-0000-0000-000000000001", ....}Custom Key Material for KMS Keys via Tags
Section titled “Custom Key Material for KMS Keys via Tags”You can seed a KMS key with custom key material using the _custom_key_material_ tag during creation.
This can be useful to pre-seed a development environment so values encrypted with KMS can be decrypted later.
Here is an example of using custom key material with the value being base64 encoded:
echo 'dGhpc2lzYXNlY3VyZWtleQ==' | base64 -dThe following output will be displayed:
thisisasecurekeyYou can create a key with custom key material using the following command:
awslocal kms create-key --tags '[{"TagKey":"_custom_key_material_","TagValue":"dGhpc2lzYXNlY3VyZWtleQ=="}]'The following output will be displayed:
{ "KeyMetadata": { "AWSAccountId": "000000000000", "KeyId": "00000000-0000-0000-0000-000000000001", ....}Current Limitations
Section titled “Current Limitations”Encryption data format
Section titled “Encryption data format”In LocalStack’s KMS implementation, the encryption process is uniformly symmetric, even when an asymmetric key is requested. Furthermore, LocalStack utilizes an encrypted data format distinct from that employed by AWS.
This could lead to decryption failures if a key is manually generated outside the local KMS environment, imported to KMS using the ImportKeyMaterial API, utilized for encryption within local KMS, and later decryption is attempted externally using the self-generated key. However, conventional setups are likely to function seamlessly.
Key states
Section titled “Key states”In AWS KMS, cryptographic keys exhibit multiple states. However, LocalStack’s KMS implementation provides only a subset of these states
EnabledDisabledCreatingPendingImportPendingDeletion
Multi-region keys
Section titled “Multi-region keys”LocalStack’s KMS implementation is equipped to facilitate multi-region keys, but there’s a distinct behavior compared to AWS KMS. Unlike AWS KMS, the replication of multi-region key replicas in LocalStack KMS isn’t automatically synchronized with their corresponding primary key. Consequently, adjustments made to the primary key’s settings won’t propagate automatically to the replica.
Key aliases
Section titled “Key aliases”While AWS KMS conveniently establishes aliases, LocalStack follows suit by supporting these pre-configured aliases. However, it’s important to note that in LocalStack, these aliases come into picture after the initial access attempt. Until that point, they are not visible.
Key specs
Section titled “Key specs”In AWS KMS, SM2 is a supported key spec for asymmetric keys. However, LocalStack’s KMS implementation doesn’t support this key spec.
API Coverage
Section titled “API Coverage”| Operation ▲ | Implemented ▼ | Verified on Kubernetes |
|---|