Getting started
2 minute read
Introduction
MailHog is an open source email testing tool for developers. It provides a simple SMTP server and web interface that allows developers to easily catch and inspect emails sent from their application during development. In this guide, you will install and use the official MailHog extension for LocalStack and send an email through SES, while inspecting it in MailHog.
Prerequisites
Installation
To get started, start your LocalStack instance with your LOCALSTACK_API_KEY.
Access our Extension Manager, and click the Install button for the MailHog extension.

You’ll receive a confirmation prompt indicating that LocalStack container will restart, after which the extension will become accessible. Check your LocalStack logs for MailHog extension output, where you should see relevant logging information:
2023-10-11T19:10:54.708  INFO --- [  MainThread] l.extensions.platform      : loaded 1 extensions
2023-10-11T19:10:54.709  INFO --- [  MainThread] mailhog.extension          : starting mailhog server
2023-10-11T19:10:54.709  INFO --- [  MainThread] mailhog.extension          : configuring SMTP host to internal mailhog smtp: localhost:25
...
2023-10-11T19:10:55.023  INFO --- [  MainThread] mailhog.extension          : serving mailhog extension on host: http://mailhog.localhost.localstack.cloud:4566
2023-10-11T19:10:55.023  INFO --- [  MainThread] mailhog.extension          : serving mailhog extension on path: http://localhost:4566/mailhog/
Usage
MailHog enables you to conduct end-to-end testing of applications that utilize SES (Simple Email Service) for sending emails. To test this, let’s use the AWS CLI to send an email.
Send an Email
You can use the VerifyEmailIdentity API to verify an email address with SES.
This is a required step before you can send emails from SES.
Run the following command to verify an email address:
$ aws --endpoint-url=http://localhost:4566 \
    ses verify-email-identity --email-address user1@yourdomain.com
You can further send an email using the SendEmail API.
Run the following command to send an email:
$ aws --endpoint-url=http://localhost:4566 \
ses send-email \
--from user1@yourdomain.com \
--message 'Body={Text={Data="Hello from LocalStack to MailHog"}},Subject={Data=Test Email}' \
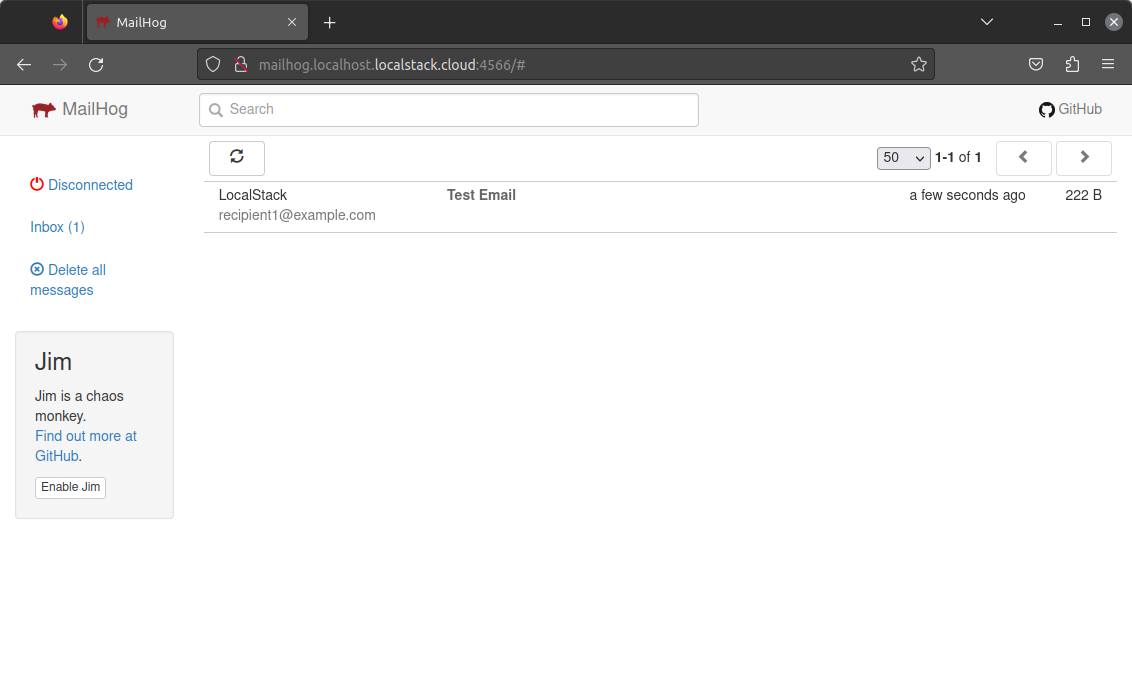
--destination 'ToAddresses=recipient1@example.com'Navigate to Extension UI
Navigate in your browser to the MailHog UI in LocalStack. You should see the email you sent in the MailHog UI.
Next steps
- Explore our collection of official extensions, along with a growing ecosystem of third-party extensions, in our Extensions Library.
- Learn about the various methods for extension management and automating their installation when using LocalStack in a CI environment. Get detailed insights from our Managing Extensions guide.
- Want to create your own extensions? Dive into our guide on Developing Extensions for step-by-step instructions.