Neptune
Introduction
Section titled “Introduction”Neptune is a fully managed, highly available, and scalable graph database service offered by AWS. It is designed for storing and querying highly connected data for applications that require complex relationship modeling, such as social networks, recommendation engines, and fraud detection. Neptune supports popular graph query languages like Gremlin and SPARQL, making it compatible with a wide range of graph applications and tools.
LocalStack allows you to use the Neptune APIs in your local environment to support both property graph and RDF graph models. The supported APIs are available on our API Coverage section, which provides information on the extent of Neptune’s integration with LocalStack.
The following versions of Neptune engine are supported by LocalStack:
| Engine Version | Tinkerpop Version |
|---|---|
1.1.0.0 |
3.4.11 |
1.1.1.0 |
3.5.2 |
1.2.0.0 |
3.5.2 |
1.2.0.1 |
3.5.2 |
1.2.0.2 |
3.5.2 |
1.2.1.0 |
3.6.2 |
1.2.1.1 |
3.6.2 |
1.3.0.0 |
3.6.2 |
1.3.1.0 |
3.6.2 |
1.3.2.0 |
3.7.2 |
1.3.2.1 |
3.7.2 |
1.3.4.0 |
3.7.2 |
1.4.0.0 |
3.7.2 |
1.4.1.0 |
3.7.2 |
1.4.2.0 |
3.7.2 |
1.4.3.0 |
3.7.2 |
Getting started
Section titled “Getting started”This guide is designed for users new to Neptune and assumes basic knowledge of the AWS CLI and our awslocal wrapper script.
Start your LocalStack container using your preferred method. We will demonstrate the following with AWS CLI & Python:
- Creating a Neptune cluster.
- Starting a connection to the Neptune cluster.
- Running a Python script to create nodes and edges and query the graph database.
Create a Neptune cluster
Section titled “Create a Neptune cluster”To create a Neptune cluster you can use the CreateDBCluster API.
Run the following command to create a Neptune cluster:
awslocal neptune create-db-cluster \ --engine neptune \ --db-cluster-identifier my-neptune-db{ "DBCluster": { ... "Endpoint": "localhost", "Port": 4510, # may vary "DBClusterArn": "arn:aws:rds:us-east-1:000000000000:cluster:my-neptune-db", ... }}Add an instance to the cluster
Section titled “Add an instance to the cluster”To add an instance you can use the CreateDBInstance API.
Run the following command to create a Neptune instance:
awslocal neptune create-db-instance \ --db-cluster-identifier my-neptune-db \ --db-instance-identifier my-neptune-instance \ --engine neptune \ --db-instance-class db.t3.mediumIn LocalStack the Endpoint for the DBCluster and the Endpoint.Address of the DBInstance will be the same and can be used to connect to the graph database.
Start a connection
Section titled “Start a connection”To start a connection you have to use the ws protocol.
Here is an example that uses Python and gremlinpython to connect to the database:
from gremlin_python.driver.driver_remote_connection import DriverRemoteConnectionfrom gremlin_python.process.anonymous_traversal import traversalfrom gremlin_python.process.traversal import Bindings, T, gt
ENDPOINT = "localhost:4510" # TODO change to your endpointDATABASE_URL = f"ws://{ENDPOINT}/gremlin"

if __name__ == '__main__':    conn = DriverRemoteConnection(        DATABASE_URL,        "g",        pool_size=1,    )
    g = traversal().withRemote(conn)
    # add some nodes    v1 = g.addV("person").property(T.id, "1").property("name", "marko").property("age", 29).next()    v2 = g.addV("person").property(T.id, "2").property("name", "stephen").property("age", 33).next()    v3 = g.addV("person").property(T.id, "3").property("name", "mia").property("age", 30).next()
    # add edges/relation    g.V(Bindings.of("id", v1)).addE("knows").to(v2).property("weight", 0.75).iterate()    g.V(Bindings.of("id", v1)).addE("knows").to(v3).property("weight", 0.85).iterate()
    # retrieve all names    names = g.V().values("name").to_list()
    # list all names of persons that know "marko"    marko_knows = g.V("1").outE("knows").inV().values("name").order().to_list()
    # all persons that "marko" know that are older than 30    marko_knows_older_30 = g.V("1").out("knows").has("age", gt(30)).values("name").to_list()
    # reset everything    g.V().drop().iterate()
    result = {        "names": names,        "marko_knows": marko_knows,        "marko_knows_older_30": marko_knows_older_30,    }    print(result)
IAM Enforcement for Gremlin Queries
Section titled “IAM Enforcement for Gremlin Queries”Amazon Neptune resources with IAM DB authentication enabled require all requests to use AWS Signature Version 4.
When LocalStack starts with IAM enforcement enabled, the Neptune database checks user permissions before granting access.
The following Gremlin query actions are available for database engine versions 1.3.2.0 and higher:
{ "Action": [ "neptune-db:ReadDataViaQuery", "neptune-db:WriteDataViaQuery", "neptune-db:DeleteDataViaQuery" ]}Start LocalStack with LOCALSTACK_ENFORCE_IAM=1 to create a Neptune cluster with IAM DB authentication enabled.
LOCALSTACK_ENFORCE_IAM=1 localstack startYou can then create a cluster.
awslocal neptune create-db-cluster \ --engine neptune \ --db-cluster-identifier myneptune-db \ --enable-iam-database-authenticationAfter the cluster is deployed, the Gremlin server will reject unsigned queries.
curl "https://localhost.localstack.cloud:4510/gremlin?gremlin=g.V()" -vThe output will be similar to the following:
- Request completely sent off< HTTP/1.1 403 Forbidden- no chunk, no close, no size. Assume close to signal end...Use the Python package awscurl to make your first signed query.
awscurl "https://localhost.localstack.cloud:4510/gremlin?gremlin=g.V().count()" -H "Accept: application/json" | jq .{ "requestId": "729c3e7b-50b3-4df7-b0b6-d1123c4e81df", "status": { "message": "", "code": 200, "attributes": { "@type": "g:Map", "@value": [] } }, "result": { "data": { "@type": "g:List", "@value": [ { "@type": "g:Int64", "@value": 0 } ] }, "meta": { "@type": "g:Map", "@value": [] } }}Resource Browser
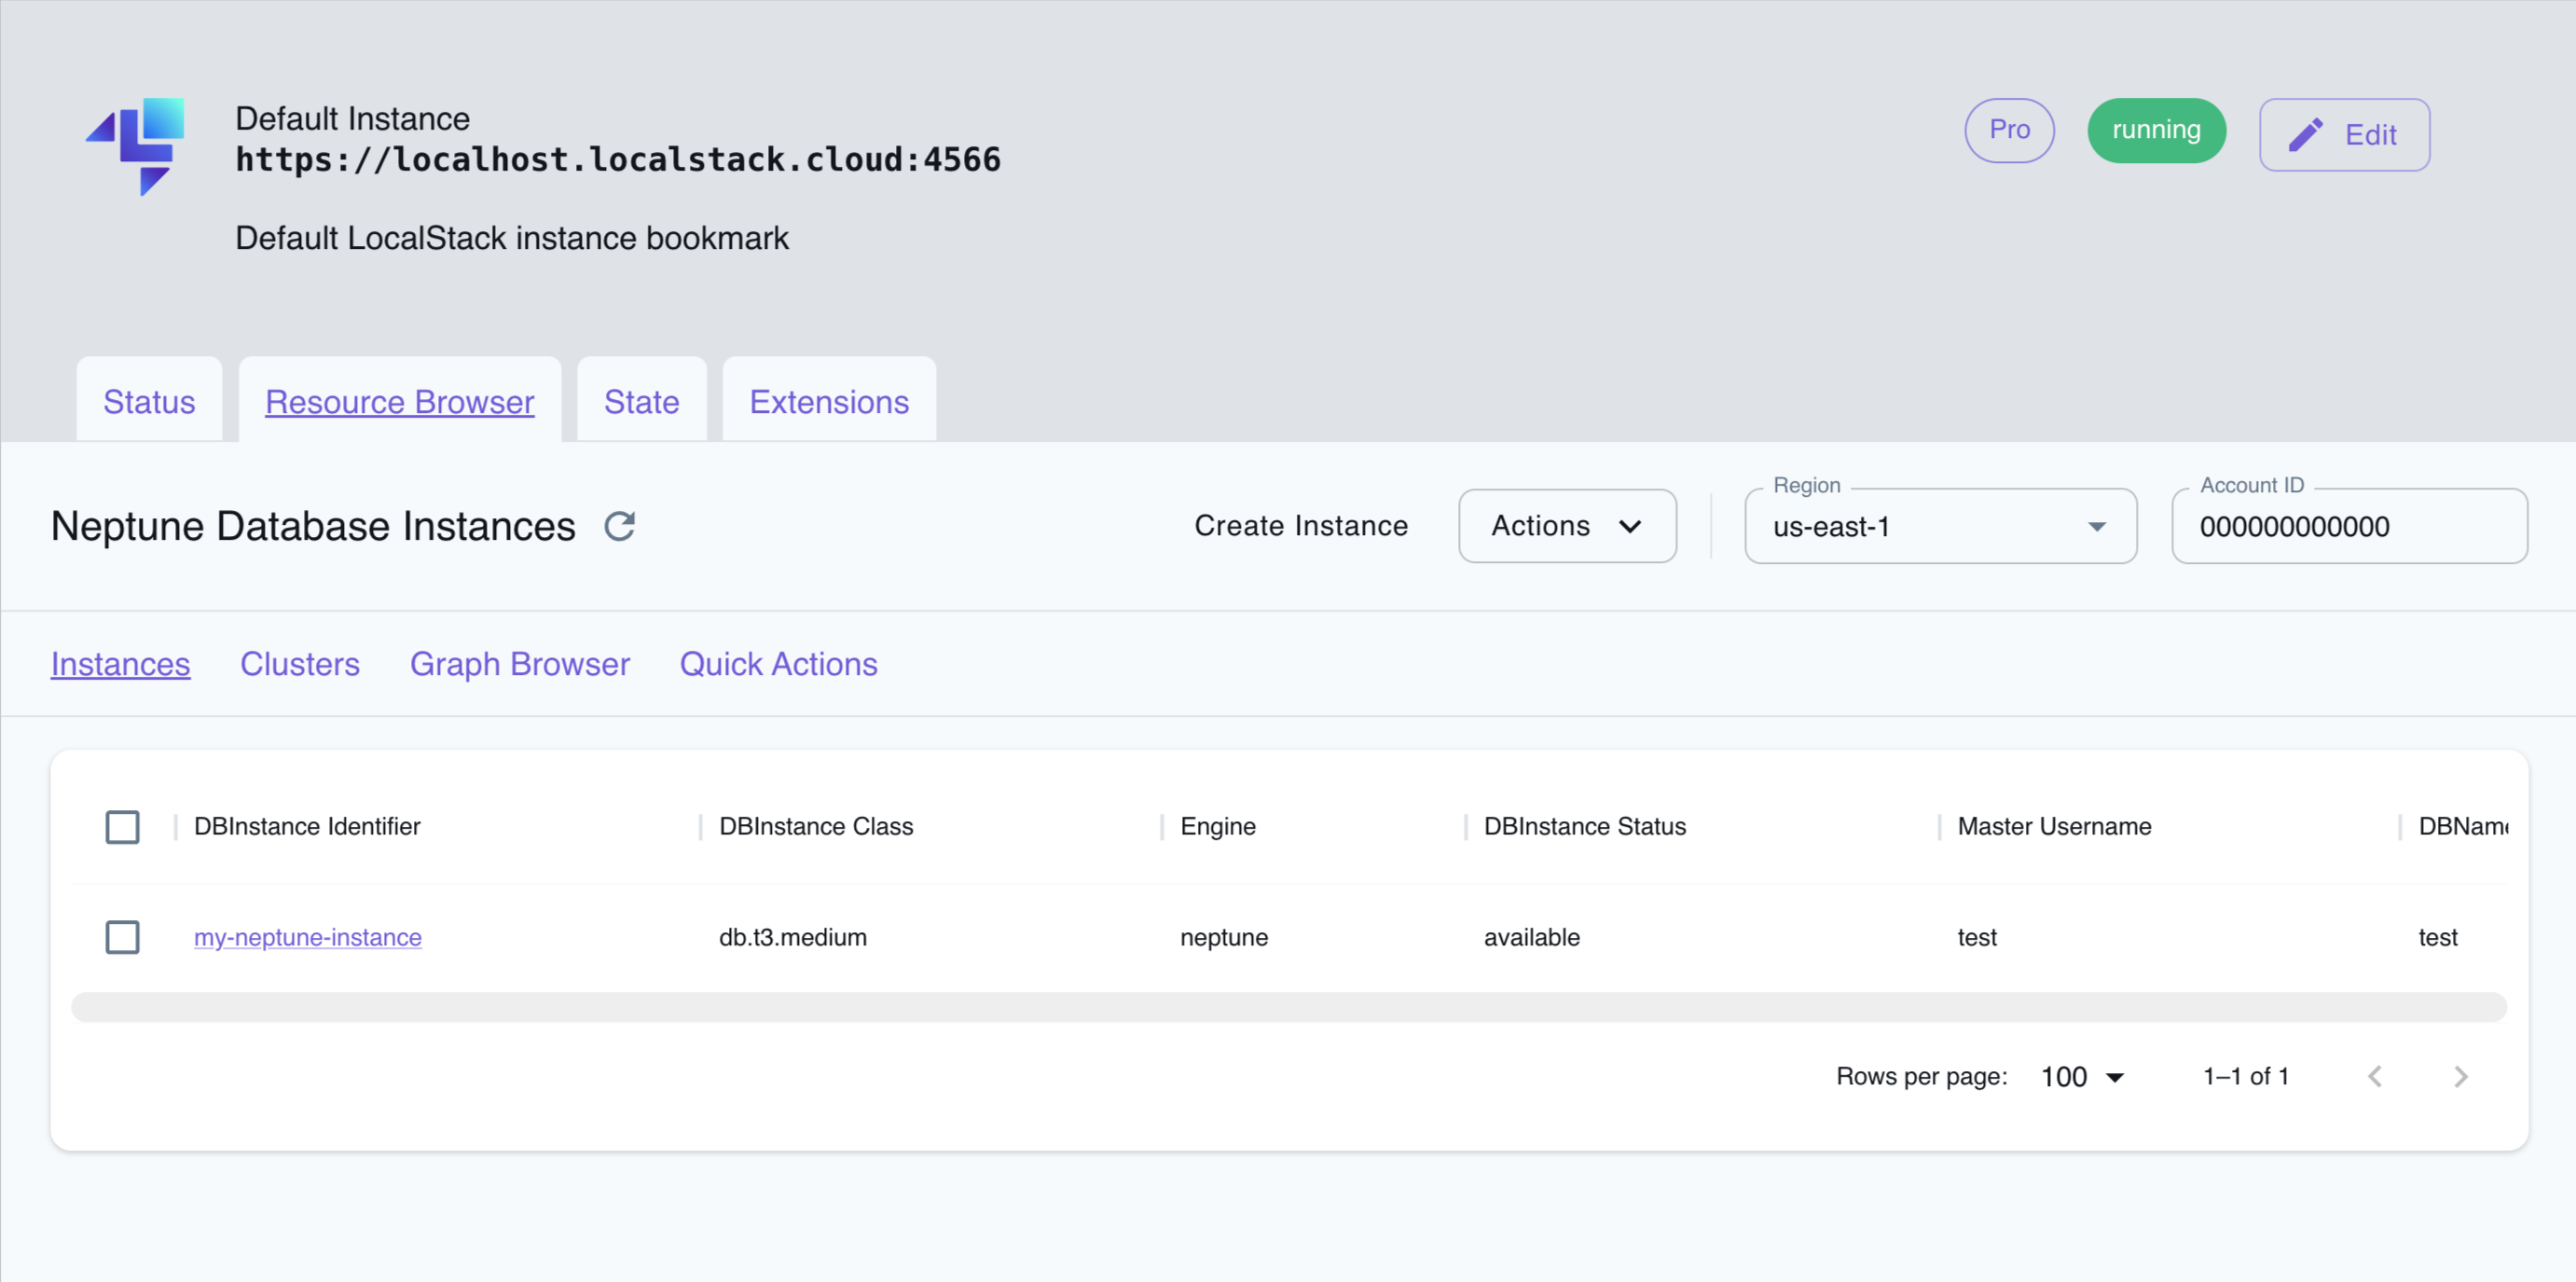
Section titled “Resource Browser”The LocalStack Web Application provides a Resource Browser for managing Neptune databases and clusters. You can access the Resource Browser by opening the LocalStack Web Application in your browser, navigating to the Resources section, and then clicking on Neptune under the Database section.
The Resource Browser allows you to perform the following actions:
- Create Cluster: Create a new Neptune cluster by clicking on Create Cluster under the Clusters tab and providing the required parameters.
- List Clusters: View a list of all Neptune clusters in your LocalStack environment by clicking on the Clusters tab.
- View Cluster Details: Click on a cluster name to view detailed information about the cluster, including its status, endpoint, and other configuration details.
- Graph Browser: Access the Neptune Graph Browser by clicking on the Graph Browser tab in the cluster details. The Graph Browser allows you to interactively query and visualize the graph data stored in your Neptune cluster.
- Quick Actions: Perform quick actions on the cluster, such as adding a new Node, modifying an existing one or creating a new Edge between 2 nodes. You can access the Quick Actions by clicking in the respective tab from the cluster details page.
- Create instance: Create a new Neptune database by clicking on Create Instance under the Instances tab and providing the required parameters.
- List Instances: View a list of all Neptune databases in your LocalStack environment by clicking on the Instances tab.
- View Instance Details: Click on a database name to view detailed information about the database, including its status, endpoint, and other configuration details.
- Edit Instance: Edit the configuration of a Neptune database by clicking on the Edit Instance button in the instance details.
Examples
Section titled “Examples”The following code snippets and sample applications provide practical examples of how to use Neptune in LocalStack for various use cases:
Preview Features
Section titled “Preview Features”Gremlin Transactions
Section titled “Gremlin Transactions”Gremlin transactions can be enabled by setting the environment NEPTUNE_ENABLE_TRANSACTION=1.
Be aware that the engine_version provided when creating your cluster will be ignored and LocalStack will use 3.7.2 Gremlin Server.
This feature is in beta and any feedback is appreciated.
Current Limitations
Section titled “Current Limitations”Fixed ID
Section titled “Fixed ID”- If you create a vertex with an ID inside a transaction and then delete it, creating another vertex with the same ID will fail.
Serializer
Section titled “Serializer”- You can connect using older Gremlin Language Variants, but
GraphBinarySerializersV1has breaking changes. - To fix this, either use the serializer version that matches your Gremlin variant, or switch to
GraphSONSerializersV3d0, which works. - If using Neptune version
1.2.0.2or earlier, the Gryo serializer is no longer supported. This only affects users who explicitly use it.
Here is an example of how to use the GraphSONSerializersV3d0 serializer with gremlinpython==3.6.2:
from gremlin_python.driver import serializerfrom gremlin_python.driver.driver_remote_connection import DriverRemoteConnectionfrom gremlin_python.process.anonymous_traversal import traversal
ENDPOINT = "localhost:4510" # TODO change to your endpointDATABASE_URL = f"ws://{ENDPOINT}/gremlin"

if __name__ == '__main__':    conn = DriverRemoteConnection(        DATABASE_URL,        "g",        # Note, the serializer is only required if using gremplin_python < 3.7.0        message_serializer=serializer.GraphSONSerializersV3d0(),    )
    g = traversal().withRemote(conn)
    tx = g.tx()    gtx = tx.begin()
    try:        v1 = gtx.addV("person").property("name", "Mark").next()        v2 = gtx.addV("person").property("name", "Jane").next()        tx.commit()    except Exception:        tx.rollback()
    nodes = g.V().valueMap().fold().next()    print(nodes)
API Coverage
Section titled “API Coverage”| Operation ▲ | Implemented ▼ | Verified on Kubernetes |
|---|