SageMaker
Introduction
Section titled “Introduction”Amazon SageMaker is a fully managed service provided by Amazon Web Services (AWS) that provides the tools to build, train, and deploy machine-learning models in the cloud for predictive analytics applications. It streamlines the machine learning development process, reduces the time and effort required to build and deploy models, and offers the scalability and flexibility needed for large-scale machine learning projects in the AWS cloud.
LocalStack provides a local version of the SageMaker API, which allows running jobs to create machine learning models (e.g., using PyTorch) and to deploy them. The supported APIs are available on our API Coverage section, which provides information on the extent of Sagemaker’s integration with LocalStack.
Getting started
Section titled “Getting started”This guide is designed for users new to SageMaker and assumes basic knowledge of Python3 and AWS SDK for Python (Boto3).
We will demonstrate an application illustrating running a machine learning job using the SageMaker API locally that perform the following:
- Set up an MNIST model in SageMaker using LocalStack.
- Creates a SageMaker Endpoint for accessing the model
- Invokes the endpoint directly on the container via Boto3
Download the sample application
Section titled “Download the sample application”You can download the sample application from GitHub or by running the following commands:
mkdir localstack-samples && cd localstack-samplesgit initgit remote add origin -f git@github.com:localstack/localstack-pro-samples.gitgit config core.sparseCheckout trueecho sagemaker-inference >> .git/info/sparse-checkoutgit pull origin masterSet up the environment
Section titled “Set up the environment”After downloading the sample application, you can set up your Docker Client to pull the AWS Deep Learning images by running the following command:
aws ecr get-login-password --region us-east-1 | docker login --username AWS --password-stdin 763104351884.dkr.ecr.us-east-1.amazonaws.comSince the images are quite large (several gigabytes), it’s a good idea to pull the images using Docker in advance.
docker pull 763104351884.dkr.ecr.us-east-1.amazonaws.com/pytorch-inference:1.5.0-cpu-py3Run the sample application
Section titled “Run the sample application”Start your LocalStack container using your preferred method. Run the sample application by executing the following command:
python3 main.pyCreating bucket...Uploading model data to bucket...Creating model in SageMaker...Adding endpoint configuration...Creating endpoint...Checking endpoint status...Endpoint not ready - waiting...Checking endpoint status...Endpoint ready!Invoking via boto...Predicted digits: [7, 3]Invoking endpoint directly...Predicted digits: [2, 6]You can also invoke a serverless endpoint, by navigating to main.py and uncommenting the run_serverless function call.
Resource Browser
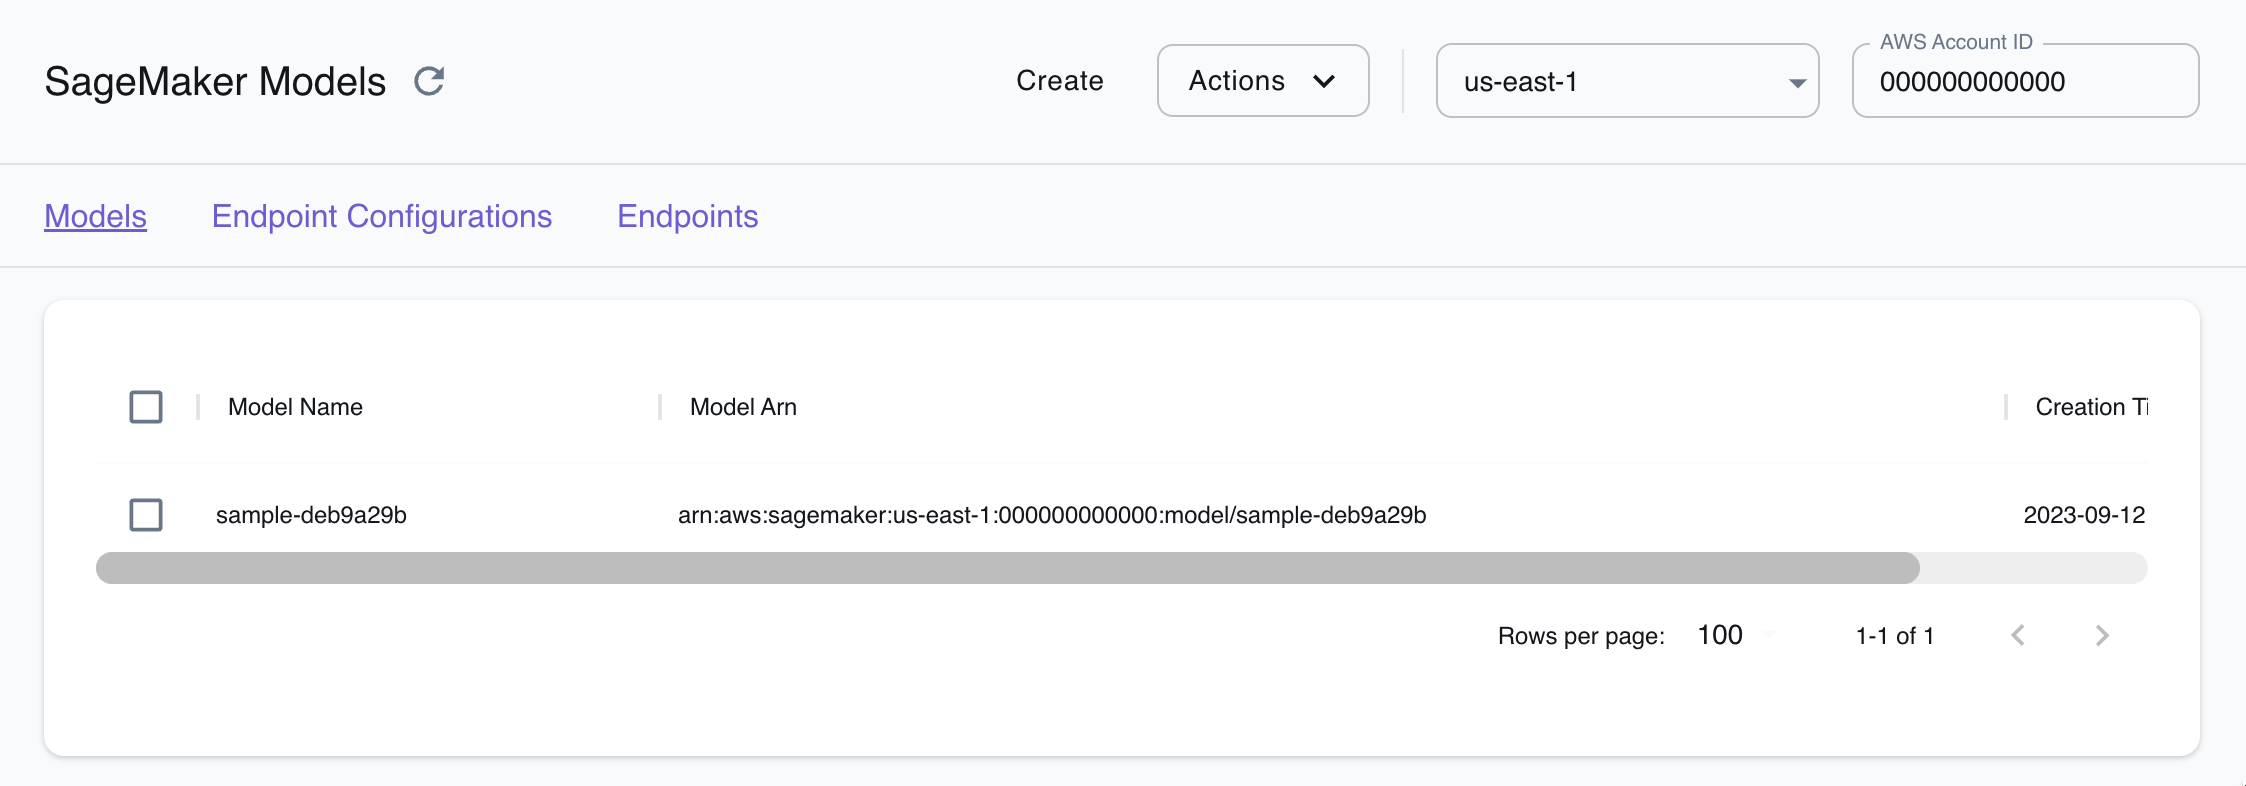
Section titled “Resource Browser”The LocalStack Web Application provides a Resource Browser for managing Sagemaker resources. You can access the Resource Browser by opening the LocalStack Web Application in your browser, navigating to the Resources section, and then clicking on Sagemaker under the Compute section.
The Resource Browser displays Models, Endpoint Configurations and Endpoint. You can click on individual resources to view their details.
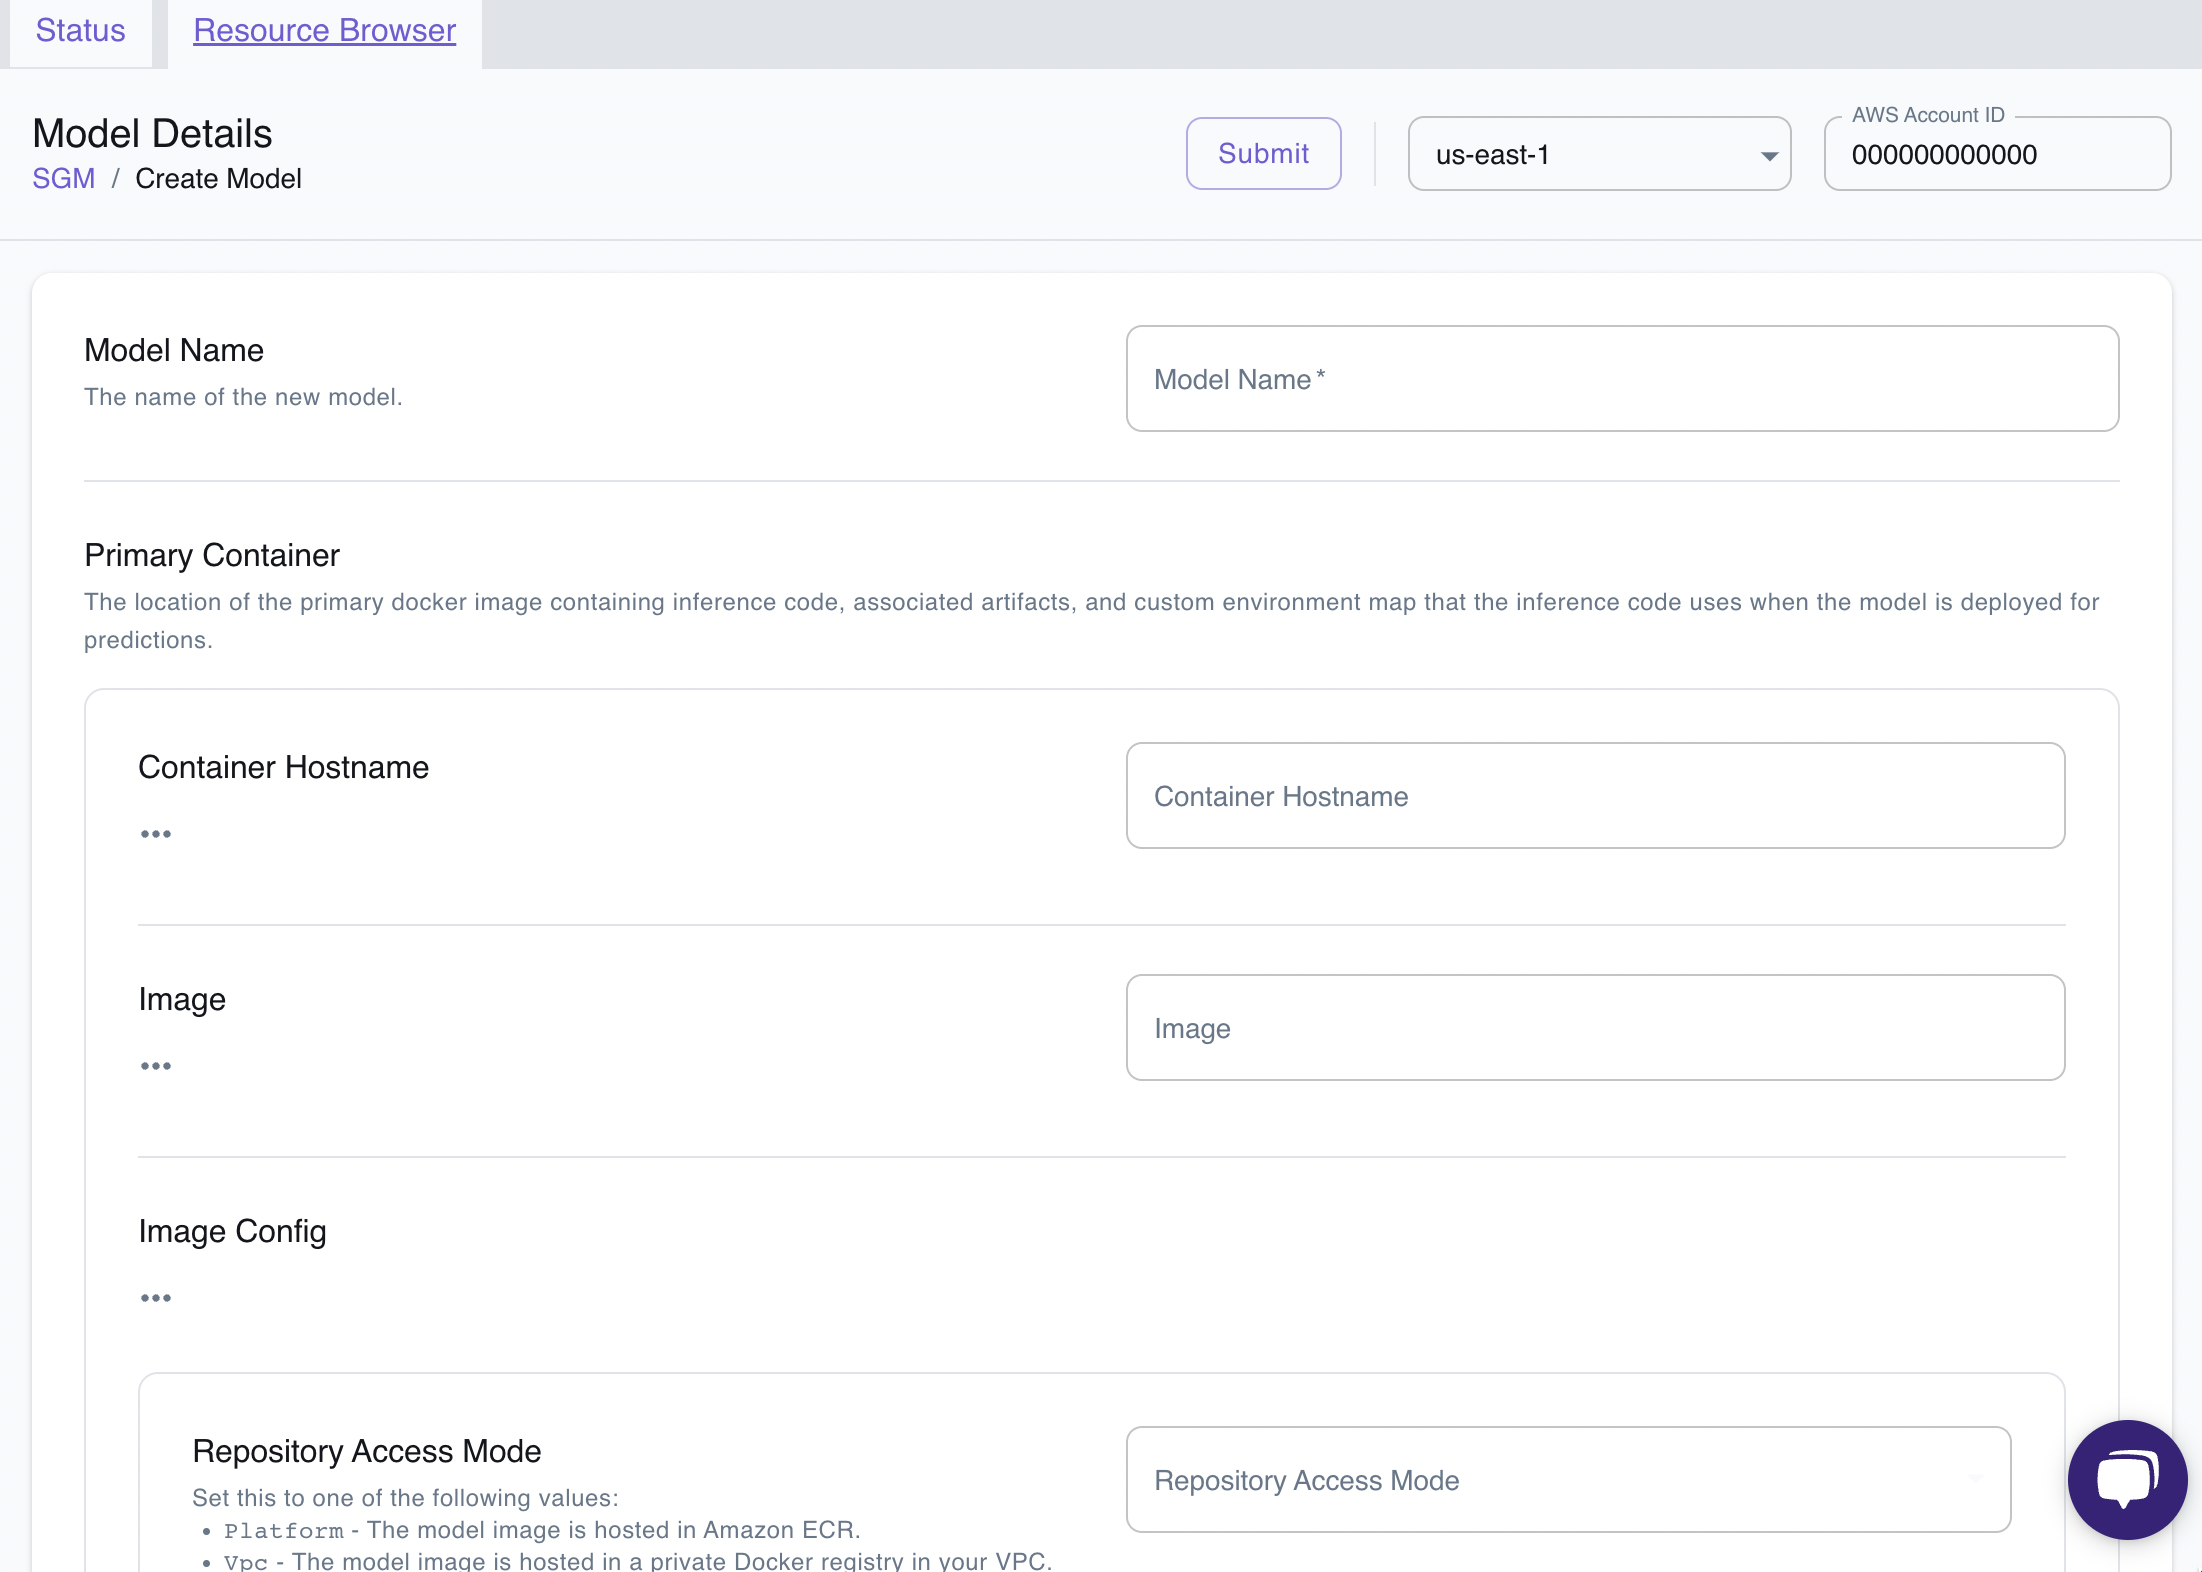
The Resource Browser allows you to perform the following actions:
-
Create and Remove Models: You can remove existing model and create a new model with the required configuration
-
Endpoint Configurations & Endpoints: You can create endpoints from the resource browser that hosts your deployed machine learning model. You can also create endpoint configuration that specifies the type and number of instances that will be used to serve your model on an endpoint.
Examples
Section titled “Examples”The following code snippets and sample applications provide practical examples of how to use Sagemaker in LocalStack for various use cases:
- MNIST handwritten digit recognition model demonstrates a web application that allows users to draw a digit and submit it to a locally running SageMaker endpoint.
Limitations
Section titled “Limitations”Currently, GPU models are not supported by the LocalStack SageMaker implementation.
API Coverage
Section titled “API Coverage”| Operation ▲ | Implemented ▼ | Verified on Kubernetes |
|---|
| Operation ▲ | Implemented ▼ | Verified on Kubernetes |
|---|