SSO for Azure AD
To configure SSO with an Azure AD Enterprise application, we provide a simple step-by-step solution below:
-
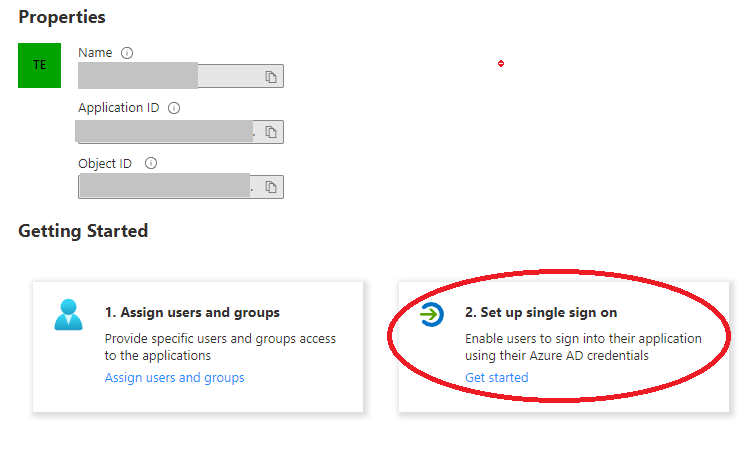
Navigate to “Set up single sign on” in your Azure AD Enterprise application.
-
In the Basic SAML Configuration, ensure that the settings match the following details

Take the correct values for Identifier (Entity ID) and Reply URL from the Identity Provider configuration page.
-
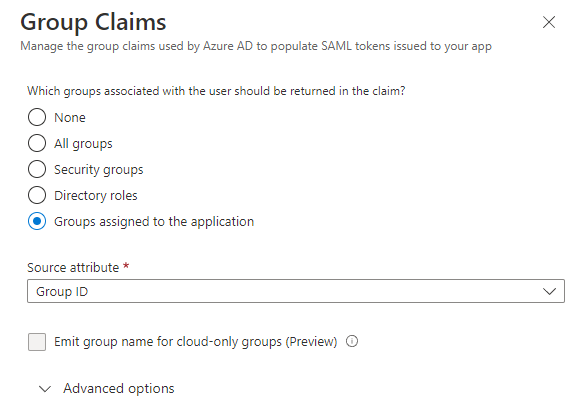
In the Attributes & Claims section, add a group claim with the following configuration and save it.
-
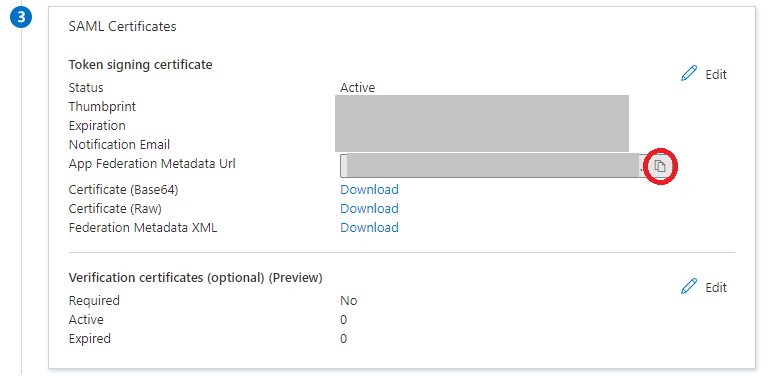
In the SAML Certificates section, copy the App Federation Metadata Url
-
Navigate to our web application, or follow this link, and:
- Create a new Identity provider
- Enter a name for you Identity provider, and choose SAML as the provider type.
- Select URL for the Metadata file and paste the link that you copied previously in step 4.
- For the attribute mapping, provide the following value for the Email attribute:
http://schemas.xmlsoap.org/ws/2005/05/identity/claims/name- (This should match the Claim name of user.userprincipalname in your Attributes & Claims) - Leave First name attribute and Last name attribute blank.
- Let your team members sign up to your LocalStack Organization via the Sign Up Portal Link.
Was this page helpful?