Elastic Container Registry (ECR)
Introduction
Section titled “Introduction”Elastic Container Registry (ECR) is a fully managed container registry service provided by Amazon Web Services. ECR enables you to store, manage, and deploy Docker container images to build, store, and deploy containerized applications. ECR integrates with other AWS services, such as Lambda, ECS, and EKS.
LocalStack allows you to use the ECR APIs in your local environment to build & push Docker images to a local ECR registry. The supported APIs are available on our API Coverage section, which provides information on the extent of ECR’s integration with LocalStack.
Getting started
Section titled “Getting started”This guide is designed for users new to Elastic Container Registry and assumes basic knowledge of the AWS CLI and our awslocal wrapper script.
Start your LocalStack container using your preferred method. We will demonstrate how to build and push a Docker image to a local ECR repository.
Create a Docker image
Section titled “Create a Docker image”To get started, create a Docker image for a simple web application that can be used in an ECS task definition.
Create a new file named Dockerfile (with no file extension) in your project directory.
This file will contain the instructions for building the Docker image.
Add the following content to the file:
FROM public.ecr.aws/docker/library/ubuntu:18.04
# Install dependenciesRUN apt-get update && \ apt-get -y install apache2
# Install apache and write hello world messageRUN echo 'Hello World!' > /var/www/html/index.html
# Configure apacheRUN echo '. /etc/apache2/envvars' > /root/run_apache.sh && \ echo 'mkdir -p /var/run/apache2' >> /root/run_apache.sh && \ echo 'mkdir -p /var/lock/apache2' >> /root/run_apache.sh && \ echo '/usr/sbin/apache2 -D FOREGROUND' >> /root/run_apache.sh && \ chmod 755 /root/run_apache.sh
EXPOSE 80
CMD /root/run_apache.sh
You can now build the Docker image from the Dockerfile using the `docker CLI:
docker build -t localstack-ecr-image .You can run the following command to verify that the image was built successfully:
docker imagesREPOSITORY TAG IMAGE ID CREATED SIZE..localstack-ecr-image latest 38883941b8fa 1 minute ago 185MBCreate an ECR repository
Section titled “Create an ECR repository”To push the Docker image to ECR, you first need to create a repository.
You can create an ECR repository using the CreateRepository API.
Run the following command to create a repository named localstack-ecr-repository:
awslocal ecr create-repository \ --repository-name localstack-ecr-repository \ --image-scanning-configuration scanOnPush=true{ "repository": { "repositoryArn": "arn:aws:ecr:us-east-1:000000000000:repository/localstack-ecr-repository", "registryId": "000000000000", "repositoryName": "localstack-ecr-repository", "repositoryUri": "000000000000.dkr.ecr.us-east-1.localhost.localstack.cloud:4566/localstack-ecr-repository", "createdAt": "2023-07-24T16:58:36+05:30", "imageTagMutability": "MUTABLE", "imageScanningConfiguration": { "scanOnPush": true }, "encryptionConfiguration": { "encryptionType": "AES256" } }}You will need the repositoryUri value to push the Docker image to the repository.
Push the Docker image to the repository
Section titled “Push the Docker image to the repository”To push the Docker image to the repository, you first need to tag the image with the repositoryUri.
Run the following command to tag the image:
docker tag localstack-ecr-image 000000000000.dkr.ecr.us-east-1.localhost.localstack.cloud:4566/localstack-ecr-repositoryYou can now push the image to the repository using the docker CLI:
docker push 000000000000.dkr.ecr.us-east-1.localhost.localstack.cloud:4566/localstack-ecr-repositoryThe image will take a few seconds to push to the repository. You can run the following command to verify that the image was pushed successfully:
awslocal ecr list-images --repository-name localstack-ecr-repository{ "imageIds": [ { "imageDigest": "sha256:1cbc853c42983362817b5eecac80b1389c0a5cf9cfd1e711d9d0a1f5a7a36d43", "imageTag": "latest" } ]}Endpoint Strategy
Section titled “Endpoint Strategy”The ECR_ENDPOINT_STRATEGY configuration variable in LocalStack determines how the endpoints for ECR repositories are constructed. The different values for ECR_ENDPOINT_STRATEGY are:
ECR_ENDPOINT_STRATEGY=domain: Uses a domain-based approach for the repository URIs. In this case, the URI includes the AWS account ID and the region, similar to how it would appear in a real AWS environment. For example:This mimics the structure of real AWS ECR URIs, which can help ensure compatibility with tools and scripts that expect this format.Terminal window "repositoryUri": "000000000000.dkr.ecr.us-east-1.localhost.localstack.cloud:4566/lambda-ecr-repo"ECR_ENDPOINT_STRATEGY=off: This strategy disables the domain-based structure and uses a simpler, direct approach. The repository URI is more straightforward and does not include the account ID or region. For example:This can simplify configurations and reduce potential issues with domain resolution.Terminal window "repositoryUri": "localhost.localstack.cloud:4510/lambda-ecr-repo"
If you are experiencing issues with domain name resolution or formatting, switching from domain to off will likely resolve the problem by simplifying the repository URI and avoiding potential complications.
Resource Browser
Section titled “Resource Browser”The LocalStack Web Application provides a Resource Browser for managing ECR repositories and images. You can access the Resource Browser by opening the LocalStack Web Application in your browser, navigating to the Resources section, and then clicking on ECR under the Compute section.
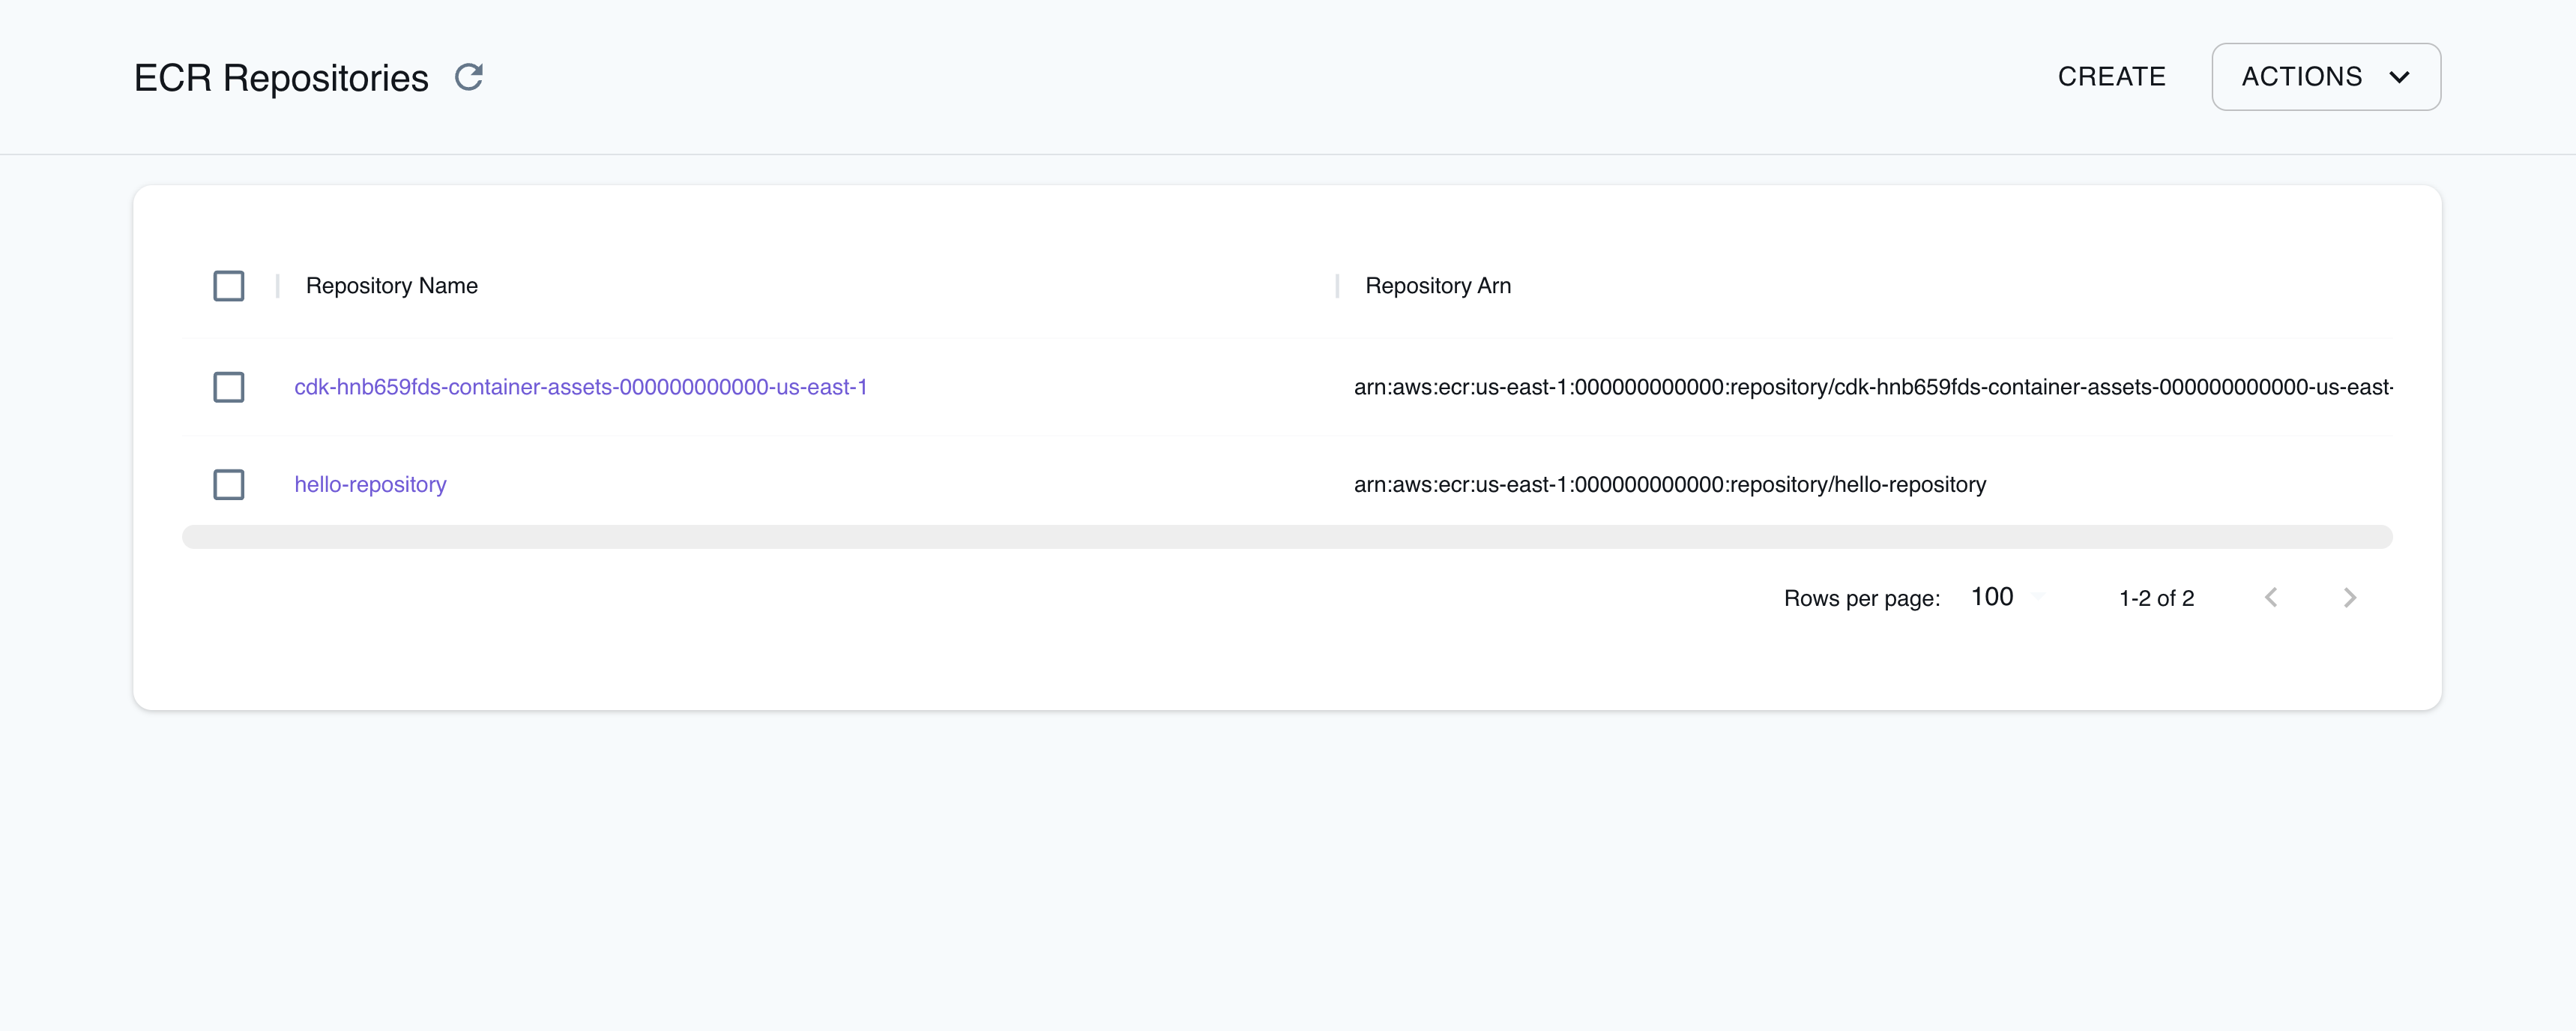
The Resource Browser allows you to perform the following actions:
- Create repository: Create a new ECR repository by clicking the Create button, and specify the Registry Id, Repository Name, Tags, and other options.
- View repository: View the details of an ECR repository by clicking on the repository name. You can also view the push commands to push an image to the repository by clicking the View Push Commands button.
- Delete repository: Delete an ECR repository by selecting the ECR repository, clicking the Actions button, and then clicking Remove Selected.
Examples
Section titled “Examples”The following code snippets and sample applications provide practical examples of how to use ECR in LocalStack for various use cases:
- Amazon RDS initialization using CDK, Lambda, ECR, and Secrets Manager
- Lambda Container Images with ECR
- Pushing Docker images to ECR and running them locally on ECS
API Coverage
Section titled “API Coverage”| Operation ▲ | Implemented ▼ | Verified on Kubernetes |
|---|