Route 53 Resolver
Introduction
Section titled “Introduction”Route 53 Resolver allows you to route DNS queries between your virtual private cloud (VPC) and your network. Route 53 Resolver forwards DNS queries for domain names to the appropriate DNS service based on the configuration you set up. Route 53 Resolver can be used to resolve domain names between your VPC and your network, and to resolve domain names between your VPCs.
LocalStack allows you to use the Route 53 Resolver endpoints in your local environment. The supported APIs are available on our API Coverage section, which provides information on the extent of Route 53 Resolver’s integration with LocalStack.
Getting started
Section titled “Getting started”This guide is designed for users new to Route53 Resolver and assumes basic knowledge of the AWS CLI and our awslocal wrapper script.
Start your LocalStack container using your preferred method. We will demonstrate how to create a resolver endpoint, list the endpoints, and delete the endpoint with the AWS CLI.
Fetch the IP addresses & Security Group ID
Section titled “Fetch the IP addresses & Security Group ID”Fetch the default VPC ID using the following command:
VPC_ID=$(awslocal ec2 describe-vpcs --query 'Vpcs[?IsDefault==`true`].VpcId' --output text)Fetch the default VPC’s security group ID using the following command:
awslocal ec2 describe-subnets --filters Name=vpc-id,Values=$VPC_ID --query 'Subnets[].SubnetId'[ "subnet-bdd58a47", "subnet-957d6ba6", "subnet-3f8669d3", "subnet-ec2a41c6", "subnet-3d583924", "subnet-8c1b0af8"]Choose two subnets from the list above and fetch the CIDR block of the subnets which tells you the range of IP addresses within it. Let’s fetch the CIDR block of the subnet subnet-957d6ba6:
awslocal ec2 describe-subnets --subnet-ids subnet-957d6ba6 --query 'Subnets[*].CidrBlock'[ "172.31.16.0/20"]Similarly, fetch the CIDR block of the subnet subnet-bdd58a47:
awslocal ec2 describe-subnets --subnet-ids subnet-bdd58a47 --query 'Subnets[*].CidrBlock'[ "172.31.0.0/20"]Save the CIDR blocks of the subnets as you will need them later. Lastly fetch the security group ID of the default VPC:
awslocal ec2 describe-security-groups \ --filters Name=vpc-id,Values=$VPC_ID \ --query 'SecurityGroups[0].GroupId'sg-39936e572e797b360Save the security group ID as you will need it later.
Create a resolver endpoint
Section titled “Create a resolver endpoint”Create a new file named create-outbound-resolver-endpoint.json and add the following content:
{ "CreatorRequestId": "2020-01-01-18:47", "Direction": "OUTBOUND", "IpAddresses": [ { "Ip": "172.31.0.0", "SubnetId": "subnet-bdd58a47" }, { "Ip": "172.31.16.0", "SubnetId": "subnet-957d6ba6" } ], "Name": "my-outbound-endpoint", "SecurityGroupIds": [ "sg-39936e572e797b360" ], "Tags": [ { "Key": "purpose", "Value": "test" } ] }Replace the Ip and SubnetId values with the CIDR blocks and subnet IDs you fetched earlier.
You can now use the CreateResolverEndpoint API to create an outbound resolver endpoint.
Run the following command:
awslocal route53resolver create-resolver-endpoint \ --cli-input-json file://create-outbound-resolver-endpoint.json{ "ResolverEndpoint": { "Id": "rslvr-out-5d61abaff9de06b99", "CreatorRequestId": "2020-01-01-18:47", "Arn": "arn:aws:route53resolver:us-east-1:000000000000:resolver-endpoint/rslvr-out-5d61abaff9de06b99", "Name": "my-outbound-endpoint", "SecurityGroupIds": [ "sg-39936e572e797b360" ], "Direction": "OUTBOUND", "IpAddressCount": 2, "HostVPCId": "vpc-d78cf7bb", "Status": "CREATING", "StatusMessage": "[Trace id: 1-bf9fe209-b90acae7cbcefe68a98b2882] Successfully created Resolver Endpoint", "CreationTime": "2024-05-02T15:03:17.266471+00:00", "ModificationTime": "2024-05-02T15:03:17.266491+00:00" }}List the resolver endpoints
Section titled “List the resolver endpoints”You can list the resolver endpoints using the ListResolverEndpoints API.
Run the following command:
awslocal route53resolver list-resolver-endpoints{ "ResolverEndpoints": [ { "Id": "rslvr-out-5d61abaff9de06b99", "CreatorRequestId": "2020-01-01-18:47", "Arn": "arn:aws:route53resolver:us-east-1:000000000000:resolver-endpoint/rslvr-out-5d61abaff9de06b99", "Name": "my-outbound-endpoint", "SecurityGroupIds": [ "sg-39936e572e797b360" ], "Direction": "OUTBOUND", "IpAddressCount": 2, "HostVPCId": "vpc-d78cf7bb", "Status": "OPERATIONAL", "StatusMessage": "[Trace id: 1-bf9fe209-b90acae7cbcefe68a98b2882] Successfully created Resolver Endpoint", "CreationTime": "2024-05-02T15:03:17.266471+00:00", "ModificationTime": "2024-05-02T15:03:17.266491+00:00" } ], "MaxResults": 10}Delete the resolver endpoint
Section titled “Delete the resolver endpoint”You can delete the resolver endpoint using the DeleteResolverEndpoint API.
Run the following command:
awslocal route53resolver delete-resolver-endpoint \ --resolver-endpoint-id rslvr-out-5d61abaff9de06b99Replace rslvr-out-5d61abaff9de06b99 with the ID of the resolver endpoint you want to delete.
Resource Browser
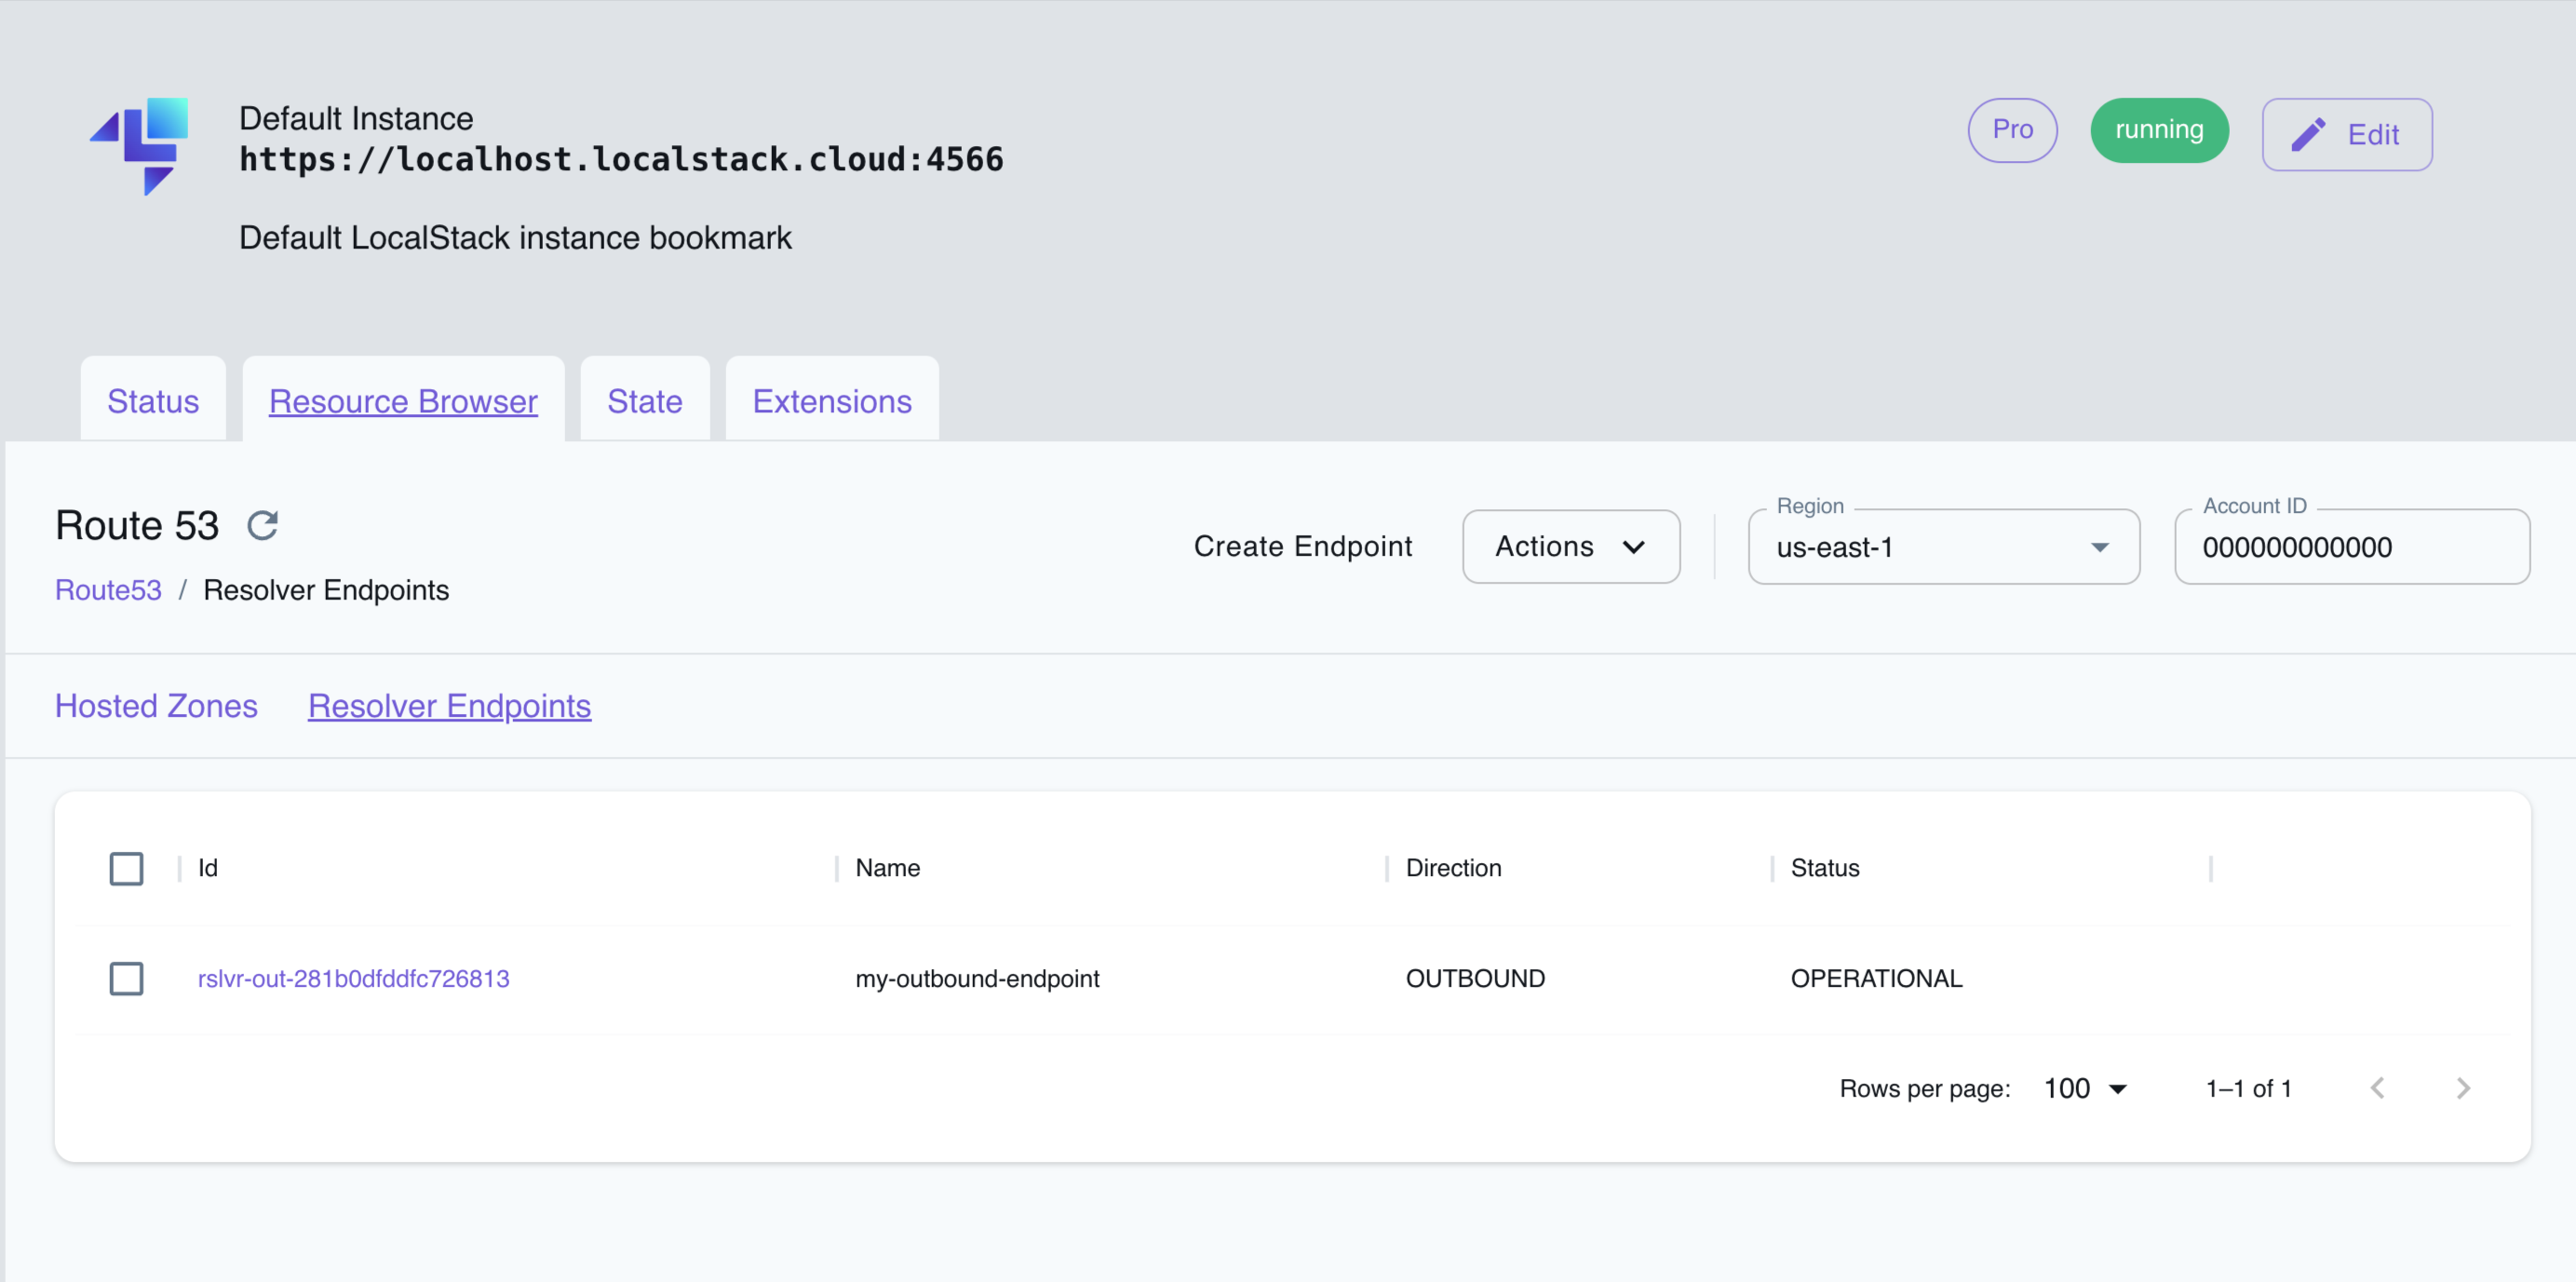
Section titled “Resource Browser”The LocalStack Web Application provides a Route53 Resolver for creating and managing resolver endpoints. You can access the Resource Browser by opening the LocalStack Web Application in your browser, navigating to the Resource Browser section, and then clicking on Route53 under the Analytics section. Navigate to the Resolver Endpoints tab to view the resolver endpoints.

The Resource Browser allows you to perform the following actions:
- Create resolver endpoint: Create a resolver endpoint by clicking on the Create Endpoint button. This will open a modal where you can enter the name, VPC, and other parameters and click on the Submit button to create the resolver endpoint.
- View resolver endpoint: View the details of a resolver endpoint by clicking on the specific resolver endpoint name. This will open a modal where you can view the resolver endpoint details.
- Edit resolver endpoint: Edit the details of a resolver endpoint by clicking on the Edit Endpoint button in the specific resolver endpoint page. This will open a modal where you can edit the resolver endpoint details.
- Delete resolver endpoint: Select the resolver endpoints you want to delete by clicking on the checkbox next to the resolver endpoint name, followed by clicking on the Actions button and then clicking on Remove Selected.
API Coverage
Section titled “API Coverage”| Operation ▲ | Implemented ▼ | Image | Verified on Kubernetes |
|---|